A battery charger that stays completely dark can turn a routine charging task into a frustrating safety question. The issue may involve a dead outlet, damaged cable, blown fuse, failed switch, overheated components, or an incompatible power source. This guide explains How to fix a battery charger that won't turn on through practical checks that apply to household, automotive, motorcycle, and portable chargers.
The International Energy Agency’s Global EV Outlook 2024 reported nearly 14 million electric car sales worldwide in 2023. That growth increases everyday dependence on reliable charging equipment. However, charging reliability remains imperfect. A 2022 National Renewable Energy Laboratory assessment found that only about 72.5% of observed public charging attempts succeeded. That figure concerns public EV stations, not every household charger, but it shows why diagnosis matters.
Before opening any charger, inspect the plug, socket, indicator light, fuse, and cable insulation. Look for melted plastic, loose pins, burnt smells, or unusual heat. Stop immediately if damage appears. Underwriters Laboratories emphasizes that certified electrical products should be used according to their instructions and ratings. Simple checks often solve the problem. Not always.
The ten methods ahead move from low-risk inspections to careful component testing. They include checking the wall outlet, resetting protection devices, verifying voltage, testing the fuse, and reviewing battery compatibility. Some failures require a qualified technician instead of guesswork. A charger may appear lifeless because of one small connection, yet internal damage can create serious shock or fire hazards. Reflect carefully. Saving a charger is never worth ignoring a safety warning.
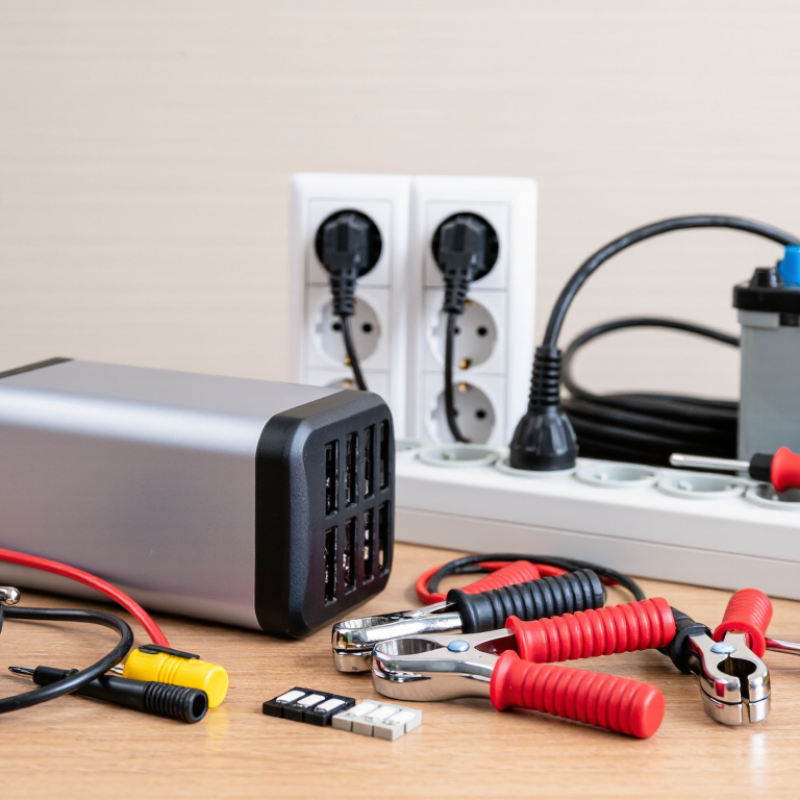
A charger that stays dark may have no usable power. I check the entire power path before suspecting internal damage. Confirm the wall outlet with a lamp or approved tester. Then inspect the plug, cable, fuse, and removable adapter for looseness or cuts. Check the breaker and any ground-fault protection device. A tripped outlet can look normal.
Do not overlook operating conditions. Some chargers require the battery connector to seat completely before starting. Others need the correct input setting, adequate ventilation, and a battery within its safe temperature range. Move the unit away from a cold garage floor or a hot vehicle dashboard. Let it reach room temperature. Try a known-good outlet, but avoid extension cords during testing. I still recheck the socket, even when its indicator light is on. It is an easy mistake.
Industry data supports this cautious approach. NFPA’s Home Structure Fires report, covering 2016–2020, found electrical distribution and lighting equipment involved in 24% of home structure fires. A dead charger is not automatically dangerous, but heat, damaged insulation, or buzzing deserves immediate disconnection. The IEA’s Global EV Outlook 2024 counted more than four million public charging points worldwide at the end of 2023, showing how widely charging conditions vary. If the charger remains inactive after these checks, record the outlet voltage, cable condition, temperature, and indicator behavior. Do not open the casing. That step requires qualified service equipment.
When a battery charger will not turn on, inspect the power path before opening its housing. Unplug the charger and examine the cord for cuts, crushed sections, loose insulation, or darkened areas near the plug. Flexing can expose hidden breaks, so do not rely on appearance alone. A plug with bent pins or scorch marks needs replacement. Never operate a damaged cord, even briefly.
Test the wall outlet with a lamp or another working device. Check both sockets, then inspect the breaker if neither works. A loose outlet may feel warm, crackle, or hold the plug poorly. Stop using it and request professional electrical service. If the charger has an accessible fuse, remove it only after disconnecting power. Replace it with the exact type and rating. Do not bridge the fuse or install a stronger one. That shortcut can create a fire risk.
Tips: Use a flashlight for small cracks and melted plastic. Check the charger’s indicator after testing a known-good outlet. A multimeter can confirm cord continuity, but only trained users should perform electrical measurements. I have seen chargers blamed for dead outlets more than once. Still, cord damage is easy to miss, especially near strain reliefs. If the outlet, cord, plug, and fuse all pass inspection, stop testing and seek qualified repair support.
When a battery charger stays dark, check its controls before blaming the battery. Unplug it and inspect the power switch for a firm click. A half-set switch can look normal but prevent startup. Check the input cable, wall outlet, and removable fuse if the manual permits inspection. Do not open sealed housings. Exposed parts can retain dangerous voltage.
Reconnect power and watch the indicator panel closely. A green light may mean standby, not active charging. A brief flash can reveal a self-test or an overloaded circuit. If no light appears, try a verified outlet, then reset the outlet’s safety device when appropriate. Keep the charger on a dry, hard surface with clear airflow. Some units refuse to start when thermal protection detects heat. Let the case cool for at least thirty minutes. I once treated a silent charger as defective, but a tripped safety control was the real cause.
Check every safety control without forcing it. Battery-detection pins, polarity protection, and an interlock may block output when the connection is loose or reversed. Remove the battery, inspect contacts for dirt or bending, and reconnect it squarely. Stop if you smell burning, hear repeated clicking, or see swelling. Do not bypass a fuse, sensor, or shutdown feature. Record the indicator pattern and the conditions around failure. That detail helps a qualified technician diagnose the fault accurately. Even careful checks can miss an internal defect.
A charger that stays dark may have a poor battery connection, not a failed circuit. Unplug it from the wall before inspecting anything. Check that the positive and negative clamps touch clean metal, not loose oxidation or dried residue. Corrosion can look like pale powder, green staining, or a dull gray film. Small details matter here.
Use a dry cloth first. For heavier buildup, apply a battery-safe contact cleaner to the cloth, never flood the charger. A soft nylon brush can remove residue from terminal grooves. Do not use a metal tool aggressively. It may scratch the contact surface or create an accidental bridge.
Battery Council International identifies terminal corrosion and loose connections as common causes of charging problems in lead-acid systems. That matches what technicians often see in neglected equipment.
Test the connection with a multimeter after cleaning. With the charger disconnected, measure the battery voltage at its terminals. Then attach the clamps firmly and watch for movement. A large voltage drop suggests contact resistance or a damaged lead. The U.S. Department of Energy notes that lead-acid battery capacity can fall about 20% at 32°F and about 50% at 0°F. Cold batteries may therefore appear unresponsive, even with clean contacts. I once blamed the charger too quickly; the real fault was a clamp gripping painted metal. Check twice.
When a battery charger stays dark, decide whether it needs repair or replacement before buying another one. Test a different outlet, inspect the plug, and check the cable for cuts, flattened sections, or loose ends. A silent indicator may reflect a failed fuse, damaged switch, or dead internal circuit. A multimeter can confirm output voltage, but only when used correctly. Do not open a mains-powered charger unless you are qualified.
Replacement is safer when the casing is cracked, the plug smells burnt, moisture entered the unit, or charging becomes unusually hot or intermittent. Match the required voltage, current, polarity, and battery chemistry exactly. A charger that fits physically can still be electrically wrong. IEC 60335-2-29 covers safety requirements for many battery chargers, so a clearly marked, compliant replacement offers stronger evidence than an unverified universal model. NFPA reported that electrical distribution and lighting equipment appeared in 24% of U.S. home structure fires from 2015 to 2019. That figure is not charger-specific, but it argues against casual repair.
Repair may make sense when the fault is limited to a detachable low-voltage cable or an accessible fuse, handled by a competent technician. Ask for a written diagnosis and a measured output test. The Global E-waste Monitor 2024 recorded 62 million tonnes of electronic waste in 2022, with only 22.3% formally collected and recycled. Repairing safe equipment reduces waste; repairing heat-damaged insulation does not. I would replace a questionable charger rather than trust a temporary fix. My earlier assumption might be wrong if the outlet, not the charger, has failed.
Unplug it first. Check the power cord, plug, fuse, and wall outlet for visible damage.
Look for cuts, crushed sections, loose insulation, dark marks, or hidden breaks near the plug.
Stop using it. Replace the plug or charger through qualified repair support.
Test both sockets with a working lamp or another safe device. Check the breaker if neither socket works.
Warmth, crackling sounds, cracks, or a loose plug fit indicate a possible electrical problem. Stop using that outlet.
Only inspect an accessible fuse after disconnecting power. Use the exact type and rating.
It can increase fire risk and defeat the charger’s safety design. A shortcut is not a repair.
Test a verified outlet, inspect the switch, and watch the indicator closely. A green light may show standby.
Let it cool for at least thirty minutes on a dry, hard surface with clear airflow.
Dirt, bent contacts, loose connections, reversed polarity, or a safety interlock may block output. Do not force anything.
When learning how to fix a battery charger that won't turn on, begin by confirming that the charger is connected to a suitable power source and that the battery and operating conditions meet its basic requirements. Inspect the wall outlet, plug, power cord, and fuse for visible damage, loose connections, or signs of overheating. Testing the outlet with another safe device can help determine whether the problem is external to the charger.
Next, examine the charger’s power switch, indicator lights, and built-in safety controls. Make sure the battery terminals are connected correctly and clean any dirt, corrosion, or residue from the contact points before trying again. If the charger remains unresponsive, produces unusual heat or odors, or has damaged wiring, stop using it. A qualified technician can assess whether repair is practical; otherwise, replacing the charger with a compatible, properly rated unit may be the safest solution.

NexBolt Charger