China Top 10 How to Install an Onboard Boat Charger?

Time:2026-09-07 Author:Sophia
0%

Installing a marine charger is not simply a matter of connecting positive and negative cables. Moisture, vibration, limited cabin space, and battery chemistry all affect the result. This guide explains How to install an on-board charger for an electric boat with practical steps and safety checks. It also introduces ten leading Chinese onboard charger options, helping boat owners compare charging capacity, protection features, certifications, and after-sales support.

A reliable installation begins with the charger manual, the boat’s wiring diagram, and the battery manufacturer’s requirements. Select a dry, ventilated mounting position above possible bilge water. Leave enough space around the charger for cooling. Stainless-steel fasteners help resist corrosion. Marine-grade cables should be correctly sized, supported every few inches, and protected from sharp edges. Install suitable fuses or breakers close to the battery connection. Never rely on guesswork.

Small details matter.

Before energizing the system, inspect every terminal for tightness and correct polarity. Check that shore-power connections remain dry and protected from accidental contact. A qualified marine electrician should verify the installation, especially on high-voltage systems or lithium battery banks. Different chargers may require specific communication settings, temperature sensors, or grounding arrangements.

Even experienced installers can miss a loose crimp. I have found that a tidy cable route can still hide excessive bending near the terminal. That mistake deserves reflection. Testing should include charging voltage, indicator behavior, thermal performance, and emergency shutdown access. The best charger is not always the most powerful model. It must match the boat, battery, environment, and daily charging routine.
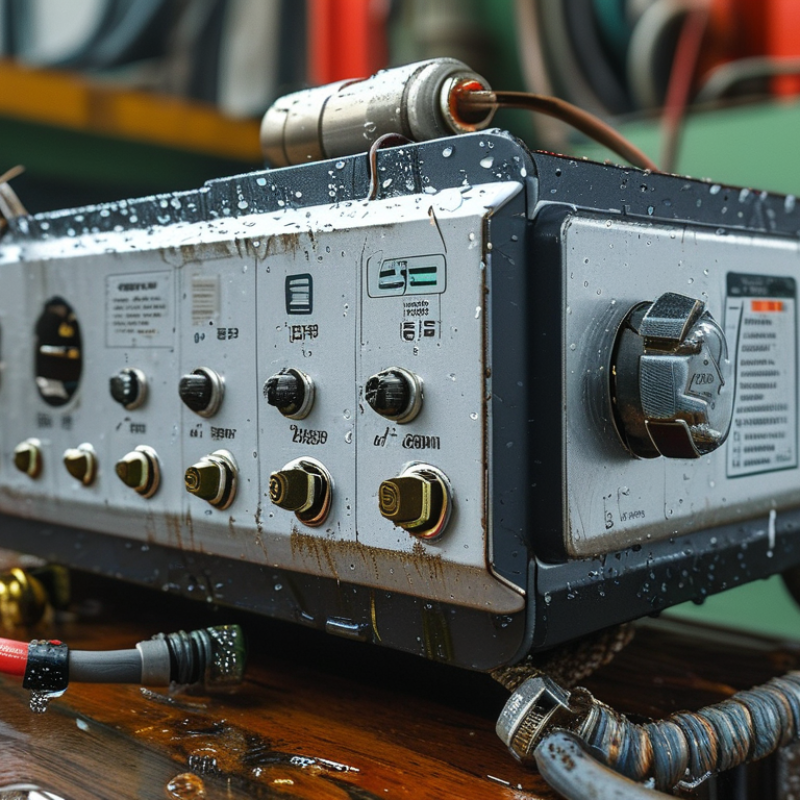
China Top 10 How to Install an Onboard Boat Charger?

Choosing the Right Onboard Boat Charger and Installation Location

Choosing the Right Onboard Boat Charger and Installation Location

Choosing an onboard boat charger starts with the battery bank, not the charger’s appearance. Check the bank voltage, battery chemistry, capacity, and number of charging outputs. A charger designed for flooded batteries may not suit lithium batteries. Read the battery and charger manuals together. I have seen poor charging caused by one overlooked setting.

Select a marine-rated unit with protected housing, suitable output, and clear status indicators. Corrosion resistance matters near saltwater. Match the charger’s output to the battery capacity and your normal cruising schedule. A very small charger may take too long. An oversized unit can create unnecessary heat. Do not guess here.

Location changes safety and serviceability. Mount the charger above possible bilge water, away from fuel vapors, and where air can circulate. Keep it close enough to the batteries to limit voltage loss, but leave room for inspection. Use properly sized cables, secure terminals, and separate fusing as specified by the manual. Avoid placing it beneath a hatch that drips after rain. That mistake is easy to make. I prefer a dry bulkhead with visible access and a short cable route. Before permanent installation, temporarily position the charger and check cable bends, heat, vibration, and hatch movement. It may look right at the dock, yet fail when the boat is underway.

Preparing Batteries, Tools, Wiring, and Safety Equipment

China Top 10 How to Install an Onboard Boat Charger?

Preparing batteries, tools, wiring, and safety equipment determines whether an onboard charger performs reliably. The U.S. Coast Guard’s 2023 Recreational Boating Statistics recorded 3,844 accidents, 564 deaths, and 2,126 injuries. Electrical preparation deserves serious attention. Disconnect shore power and remove the battery’s negative connection before working. Inspect each battery for swelling, cracks, corrosion, or loose terminals. Replace damaged parts. Do not charge a questionable battery.

Use insulated screwdrivers, a crimping tool, a digital multimeter, heat-shrink tubing, cable ties, and correctly rated fuses. Keep a fire extinguisher nearby. Small details matter. Measure cable length before cutting. Undersized wiring can create voltage drop and heat. ABYC E-11 guidance supports properly protected conductors, secure connections, and suitable overcurrent protection near the power source. Follow the charger manufacturer’s cable-size requirements, not guesswork.

Clean terminals with an approved brush, then tighten connections firmly without crushing them. Route positive and negative cables separately from fuel lines, moving parts, and sharp edges. Secure wiring every few inches. Verify polarity with a multimeter before energizing the charger. The National Fire Protection Association identifies battery charging areas as requiring ventilation and ignition-source control. Boats are cramped. Ventilate battery compartments according to battery chemistry and vessel design. My installation checklist still misses things sometimes, especially hidden corrosion. A second inspection is worth the extra five minutes.

Connecting the Charger to the Boat Battery Bank

Connecting an onboard charger to a boat battery bank demands careful planning. The 2023 NMMA U.S. Recreational Boating Statistical Abstract recorded about 11.6 million registered recreational boats in the United States. Many rely on multi-battery systems, where one loose connection can disable essential equipment.

Start with shore power disconnected and every load switched off. Identify the battery bank, chemistry, voltage, and capacity before wiring. Connect each charger output to the correct positive terminal, then connect the charger negative lead to the approved negative bus or battery terminal.

Install a properly rated fuse close to each positive connection. ABYC E-11 guidance emphasizes overcurrent protection, secure conductors, and suitable insulation in marine DC systems. Keep cables away from fuel lines, moving parts, and sharp fiberglass edges.

Measure twice. Then connect.

Use tinned marine-grade cable, sealed terminals, and strain relief. After tightening, gently pull each terminal; movement indicates a problem. Check polarity with a multimeter before energizing the charger.

The U.S. Coast Guard’s 2023 Recreational Boating Statistics reported 3,844 boating incidents, including 564 deaths and 2,641 injuries. Those figures do not prove charger wiring caused accidents, but they reinforce the cost of careless installation.

I still recheck the fuse size and battery chemistry, even when the diagram looks obvious. A charger may power on while charging the wrong bank. That mistake is easy to miss.

Installing the AC Power Connection and Securing the Charger

Installing the AC Power Connection and Securing the Charger

NMMA’s 2023 U.S. Recreational Boating Statistical Abstract reports about 11.6 million registered recreational boats. Many use onboard chargers, so AC installation deserves careful attention. Before touching wiring, disconnect shore power and switch off the vessel’s main AC supply. Confirm the charger’s input voltage, frequency, and current rating. Never guess.

Use marine-grade cable with correct insulation and copper conductors. Route the cable away from fuel lines, hot engine parts, and sharp edges. The shore-power inlet should feed a properly rated overcurrent device and residual-current protection, where required locally. ABYC E-11 guidance emphasizes grounding, conductor identification, and protection against accidental contact. A licensed marine electrician should verify polarity, bonding, and insulation resistance before energizing the system.

Keep the charger dry.

Mount it on a rigid, vertical surface with airflow around its housing. Leave enough space for cable bends and future inspection. Stainless fasteners and locking hardware can reduce movement from vibration. Add strain relief near every terminal; a heavy cable should never pull on a small connection. My early installations looked tidy, but one cable was too tightly bent. That mistake increased terminal stress. A safer route may look less perfect. Check that charging indicators remain visible, terminals stay accessible, and no water can run along the cable into the charger. After installation, test shore-power disconnection, protection devices, and charging output under supervision.

Testing the System and Maintaining the Onboard Charger

Testing the System and Maintaining the Onboard Charger

After installation, test the onboard charger at the dock before trusting it offshore. Check the shore-power connection, circuit protection, and charger display. Use a multimeter to measure battery voltage before charging. A healthy 12-volt lead-acid battery usually rests near 12.6 volts when fully charged. During charging, voltage commonly rises between 13.6 and 14.8 volts, depending on battery chemistry and charging stage. Follow the battery manufacturer’s limits. Do not guess.

Inspect the cables for heat, corrosion, loose terminals, or cracked insulation. The American Boat and Yacht Council’s E-11 standard emphasizes secure connections, overcurrent protection, and suitable marine wiring. These details matter. In the 2023 U.S. Coast Guard Recreational Boating Statistics, 4,062 accidents and 556 deaths were recorded nationwide. An onboard charger may not cause every risk, but neglected electrical systems can increase danger. That point deserves more attention.

Run the charger for at least thirty minutes, then feel the connections carefully. Warm is normal. Hot is a warning. Disconnect power before cleaning terminals, and keep ventilation openings free from dust. Check charging performance monthly during active use. Inspect the system before long trips and after winter storage. I have found that a simple log exposes weak batteries early. Still, voltage alone can mislead. A battery may show normal voltage but lose capacity under load. Test it properly, and replace damaged parts rather than postponing the repair.

FAQS

: How do I choose the correct onboard charger?

: Match it to battery voltage, chemistry, capacity, and output count. A small charger may charge too slowly. An oversized unit can create extra heat. Do not guess.

Can one charger serve different battery types?

Not always. A charger designed for flooded batteries may not suit lithium batteries. Check both manuals before selecting charging settings. One overlooked setting can cause poor charging.

Where should I mount the charger?

Choose a dry, rigid, vertical surface above possible bilge water. Keep it away from fuel vapors, heat, and dripping hatches. Leave airflow around the housing.

How close should the charger be to the batteries?

Keep the cable route reasonably short to reduce voltage loss. Still leave room for inspection and safe cable bends. Short is useful, but cramped is not.

What details matter near saltwater?

Use a marine-rated charger with corrosion-resistant protection. Secure terminals, use suitable cables, and follow the specified fuse arrangement. Salt air is unforgiving.

How should I prepare the AC connection?

Disconnect shore power and the vessel’s main AC supply before wiring. Confirm input voltage, frequency, and current ratings. Use marine-grade copper cable with suitable insulation.

What safety protections should the AC system include?

Use properly rated overcurrent protection and residual-current protection where locally required. Route cables away from fuel lines, hot engine parts, and sharp edges. A licensed marine electrician should verify polarity and insulation resistance.

How can I secure the charger against movement?

Mount it with corrosion-resistant fasteners and locking hardware. Add strain relief near every terminal. Heavy cables should never pull on small connections.

What should I test before permanent installation?

Temporarily position the charger and check heat, vibration, cable bends, and hatch movement. Confirm indicators remain visible and terminals stay accessible. A tidy dockside setup may fail underway.

What should I inspect after installation?

Test shore-power disconnection, protection devices, and charging output under supervision. Check that water cannot run along a cable into the charger. Recheck the work.

Conclusion

This guide explains How to install an on-board charger for an electric boat safely and efficiently. It begins with selecting a charger that matches the battery bank’s voltage, capacity, and chemistry, then choosing a dry, cool, and well-ventilated installation location away from moving parts and water exposure. Before starting, disconnect all power sources and prepare the batteries, cables, fuses, connectors, tools, and appropriate safety equipment. The charger’s positive and negative leads should be connected to the correct battery terminals or bank connections, following proper polarity and secure cable routing.

Next, the AC power connection should be installed according to the charger’s specifications, with suitable protection from moisture and mechanical damage. Secure the charger firmly while allowing enough airflow for cooling. Finally, inspect every connection, restore power carefully, and test the charging process. Regularly checking cables, terminals, ventilation, and corrosion will help maintain reliable performance and extend the charger’s service life.

Sophia

Sophia

Sophia is a dedicated marketing professional with an exceptional depth of knowledge about her company's products and services. With a keen understanding of market trends and customer needs, she crafts insightful blog posts that not only inform but also engage readers, enriching the company’s online......